
TinyMCE Rich text editor with server side Image upload using PHP
I used different rich text editors but the main problem is image upload.. Every time i try to upload an image it goes with a blob format or nothing.
If it’s converted as a blob my database will fill with image code. what actually i want is to convert that as an image tag with URL. and I am finally found a way here I am sharing it with you all.
first, let’s go to https://www.tiny.cloud/ and grab your API key and it’s free. you have to add your domains to tiny’s site to verify.
now let’s write the code.
Then, create a front end file for display the editor
<!DOCTYPE html>
<html lang="en">
<head>
<script src="https://code.jquery.com/jquery-1.11.3.js"></script>
<script src="https://cdn.tiny.cloud/1/xxxxxxxxxxYOUR_API_KEY_HERExxxxxxx/tinymce/6/tinymce.min.js" referrerpolicy="origin"></script>
<script>
tinymce.init({
selector: '#myTextarea',
plugins: 'image',
toolbar: 'undo redo | styles | bold italic | alignleft aligncenter alignright alignjustify | outdent indent | image',
// without images_upload_url set, Upload tab won't show up
images_upload_url: 'upload.php',
});
const image_upload_handler_callback = (blobInfo, progress) => new Promise((resolve, reject) => {
const xhr = new XMLHttpRequest();
xhr.withCredentials = false;
xhr.open('POST', 'upload.php');
xhr.upload.onprogress = (e) => {
progress(e.loaded / e.total * 100);
};
xhr.onload = () => {
if (xhr.status === 403) {
reject({ message: 'HTTP Error: ' + xhr.status, remove: true });
return;
}
if (xhr.status < 200 || xhr.status >= 300) {
reject('HTTP Error: ' + xhr.status);
return;
}
const json = JSON.parse(xhr.responseText);
if (!json || typeof json.location != 'string') {
reject('Invalid JSON: ' + xhr.responseText);
return;
}
resolve(json.location);
};
xhr.onerror = () => {
reject('Image upload failed due to a XHR Transport error. Code: ' + xhr.status);
};
const formData = new FormData();
formData.append('file', blobInfo.blob(), blobInfo.filename());
xhr.send(formData);
});
</script>
</head>
<body>
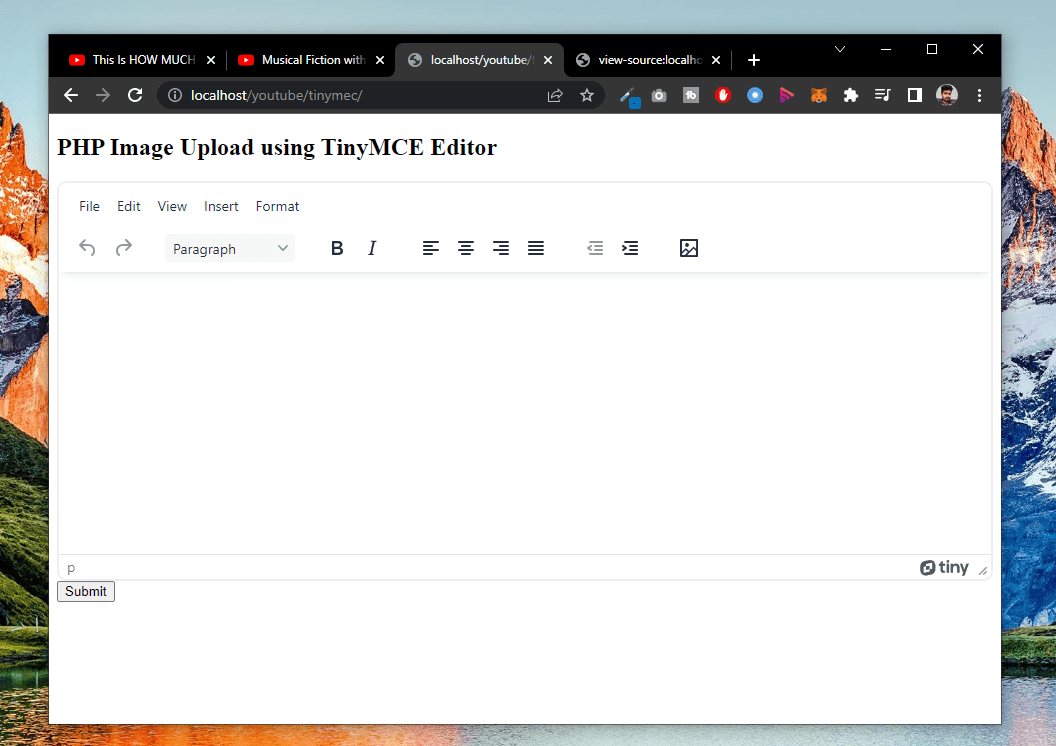
<h2>PHP Image Upload using TinyMCE Editor</h2>
<form action="" method="post">
<textarea id="myTextarea" name="post"></textarea>
<button type="submit">Submit </button>
</form>
</body>
</html>
Which will something look like this
Now what …….
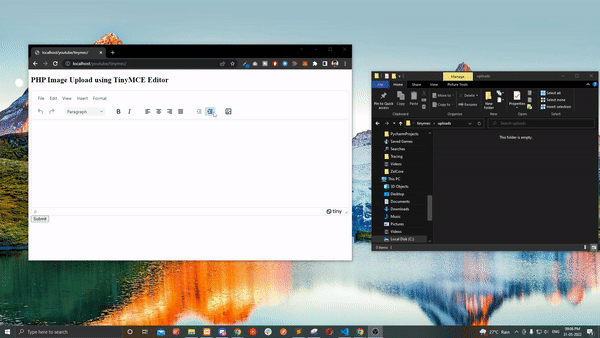
we have to add our PHP code to save the images into a folder called uploads.
so create a file called upload.php
and add this code into that
<?php

// Only these origins are allowed to upload images
$accepted_origins = array("http://localhost", "https://codeconia.com", "http://example.com");

// Set the upload folder
$imageFolder = "uploads/";

if (isset($_SERVER['HTTP_ORIGIN'])) {
    // same-origin requests won't set an origin. If the origin is set, it must be valid.
    if (in_array($_SERVER['HTTP_ORIGIN'], $accepted_origins)) {
        header('Access-Control-Allow-Origin: ' . $_SERVER['HTTP_ORIGIN']);
    } else {
        header("HTTP/1.1 403 Origin Denied");
        return;
    }
}

// Don't attempt to process the upload on an OPTIONS request
if ($_SERVER['REQUEST_METHOD'] == 'OPTIONS') {
    header("Access-Control-Allow-Methods: POST, OPTIONS");
    return;
}

reset ($_FILES);
$temp = current($_FILES);
if (is_uploaded_file($temp['tmp_name'])){

    // Sanitize input
    if (preg_match("/([^\w\s\d\-_~,;:\[\]\(\).])|([\.]{2,})/", $temp['name'])) {
        header("HTTP/1.1 400 Invalid file name.");
        return;
    }

    // Verify extension
    if (!in_array(strtolower(pathinfo($temp['name'], PATHINFO_EXTENSION)), array("gif", "jpg", "jpeg", "png"))) {
        header("HTTP/1.1 400 Invalid extension.");
        return;
    }

    // Accept upload if there was no origin, or if it is an accepted origin
    $filetowrite = $imageFolder . $temp['name'];
    if(move_uploaded_file($temp['tmp_name'], $filetowrite)){
        // Determine the base URL
        $protocol = isset($_SERVER['HTTPS']) && $_SERVER['HTTPS'] == 'on' ? "https://" : "http://";
        $baseurl = $protocol . $_SERVER["HTTP_HOST"] . rtrim(dirname($_SERVER['REQUEST_URI']), "/") . "/";


        // { location : '/your/uploaded/image/file'}
        echo json_encode(array('location' => $baseurl . $filetowrite));
    }else{
        header("HTTP/1.1 400 Upload failed.");
        return;
    }
} else {
    // Notify editor that the upload failed
    header("HTTP/1.1 500 Server Error");
}

?>
Woohooo.. thats all my boys .. its ready .
I will attach the source code with this .. so you can simply download and use it.
Thank you ..
Download Source Code :
![]()

Share with your friends:

Google Auth in android and ios with React native Expo Managed workflow
Hey , Recently i striggled alot to find a way to integrate the google auth with react native expo app. […]
October 3, 2024

Export html table to excel, pdf, csv format using Datatable
Do you know how to export html table to excel, pdf, CSV, or excel format using Datatable? If you don’t […]
August 4, 2022

Instagram Hashtag API PHP and JavaScript Integration with RapidAPI
Do you know how to integrate Instagram Hashtag API with your website? In this tutorial, I will show you how […]
August 2, 2022

How to host React Application into Cpanel – Routes not working Htaccess fix
Do you know how to host react applications into Cpanel? After building your react application. you will get an index.html […]
July 28, 2022

Digital Marketing Toolkit
Get Free Access to Digital Marketing Toolkit. You can use all our tools without any limits
Get Free Access Now
Leave a Reply